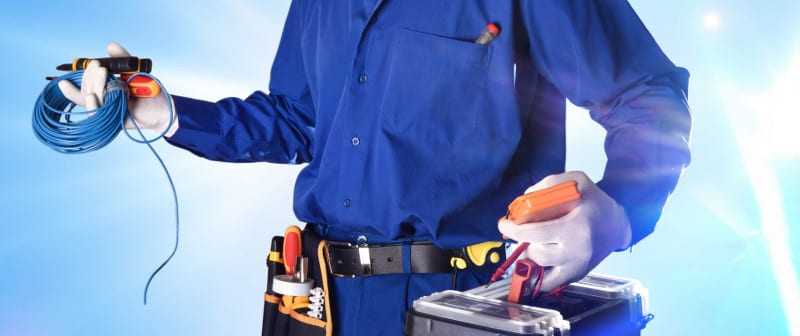
Hiring an electrician can be expensive, and you’ll waste time waiting. When you do it yourself, you can get the job done faster and save money.
Is your electrical outlet not working? Do you know how to do an electrical outlet repair? What are the key steps you should take no matter what the problem is?
If you’re having outlet problems and don’t know where to start, we can help. Read on to learn the steps you should take to get started.
Tools To Get Started
First things first, you have to have the right tools. We’ve put together some things you should have before trying to repair your outlets.
- Screwdrivers – flathead and Phillips
- Voltage tester
- GFCI Tester
- Replacement outlet
Once you get your tools and equipment together, you’ll be ready to get started.
First Steps
Before you dive head first into an outlet repair, there’s some things that you can check first. Make sure it’s really the outlet that’s giving you issues.
Check The Appliance
If you’re using an appliance when the outlet goes out, make sure it’s not the actual appliance. Rest set it if you can, and if you can’t test another appliance or lamp.
Check If It’s Connected To A Switch
Is the outlet connected to a switch? If so, make sure it’s not switched off.
Don’t Overload The Outlet
If you have a lot of appliances plugged into one outlet, it could trip the breaker. Move things around so one outlet isn’t overloaded.
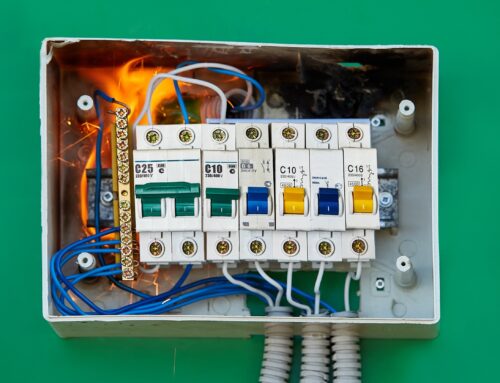
Check The Circuit Breaker
When there’s a lot of electricity running through an outlet, it can trip the circuit breaker. Try moving appliances around and then flipping the breaker, and trying again.
How To Do An Electrical Outlet Repair
So you checked all the basics and determined that you’re having electrical outlet problems. Here’s how to repair an electrical outlet.
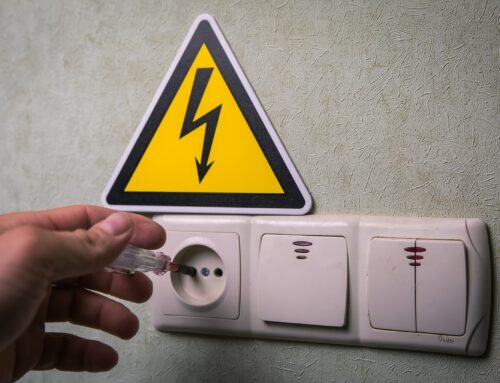
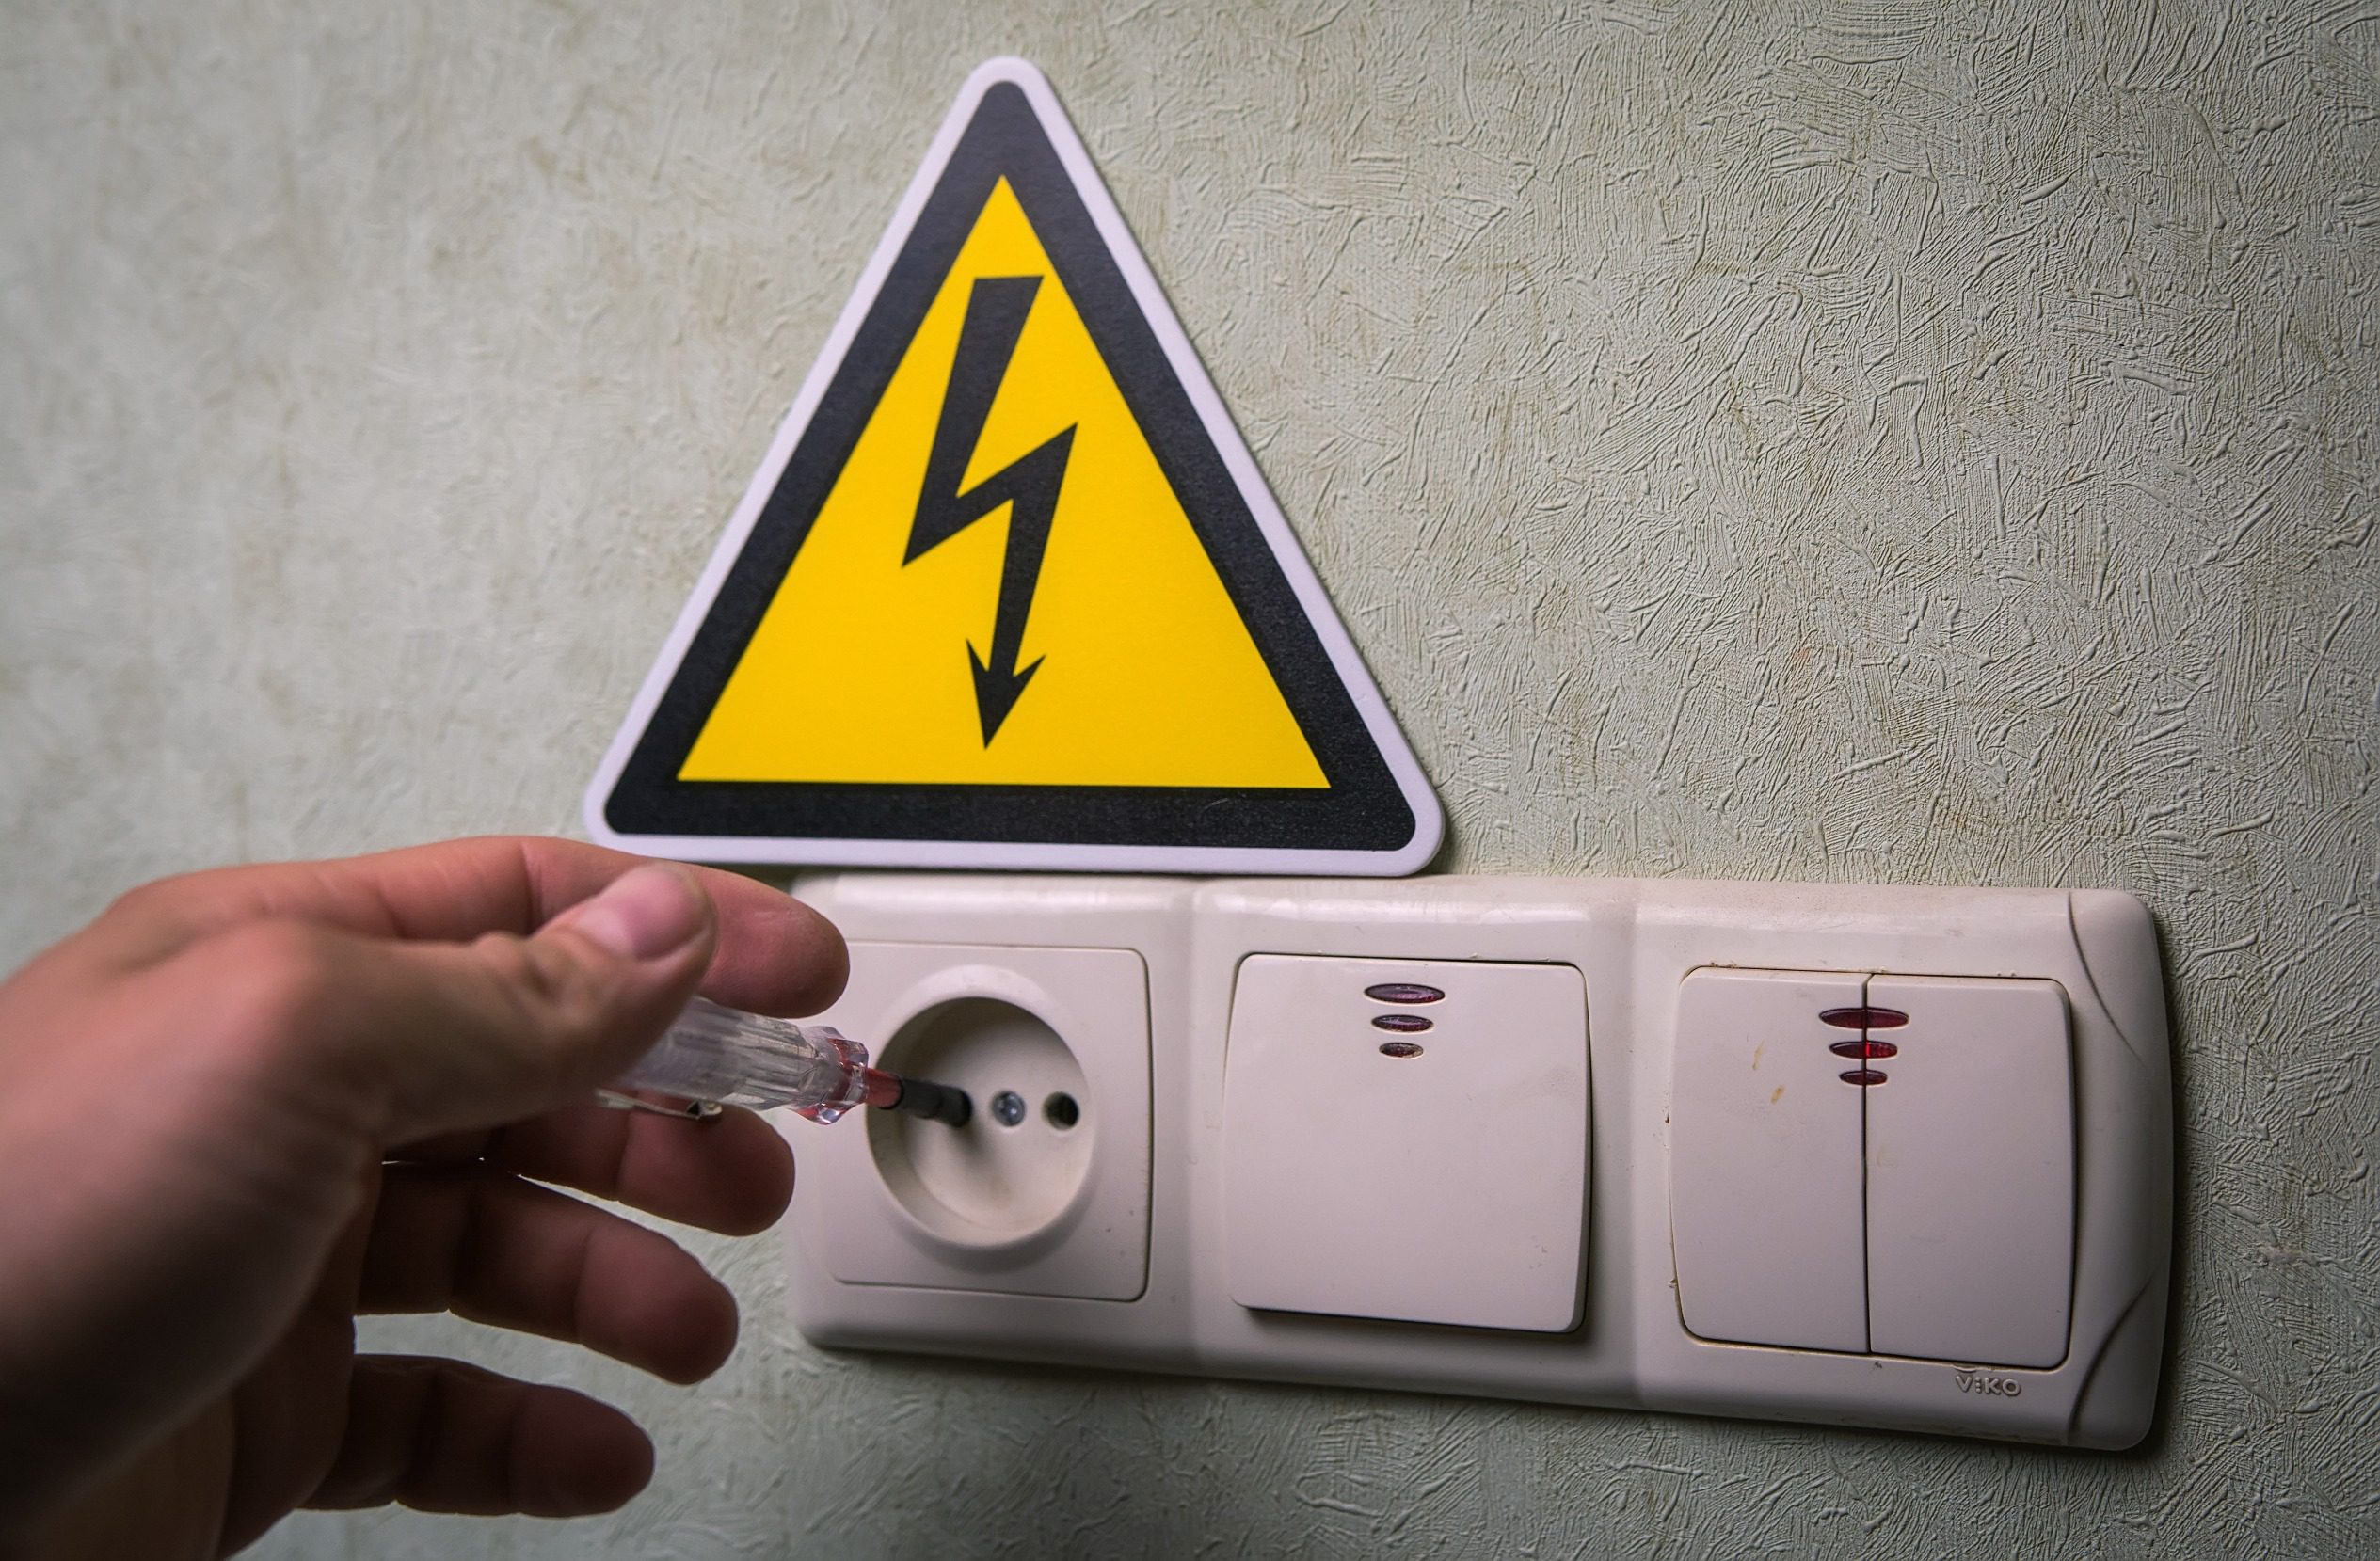
1. Check If It’s A GFCI Outlet
These are the outlets that have the reset button showing. If it’s an outlet like this, then you can try to hit the reset button.
The button can be difficult to press, so you might have to break out the flathead screwdriver.
2. Check The Circuit Breaker
Is the circuit breaker switched off? If so, try to switch it in the opposite direction then back again.
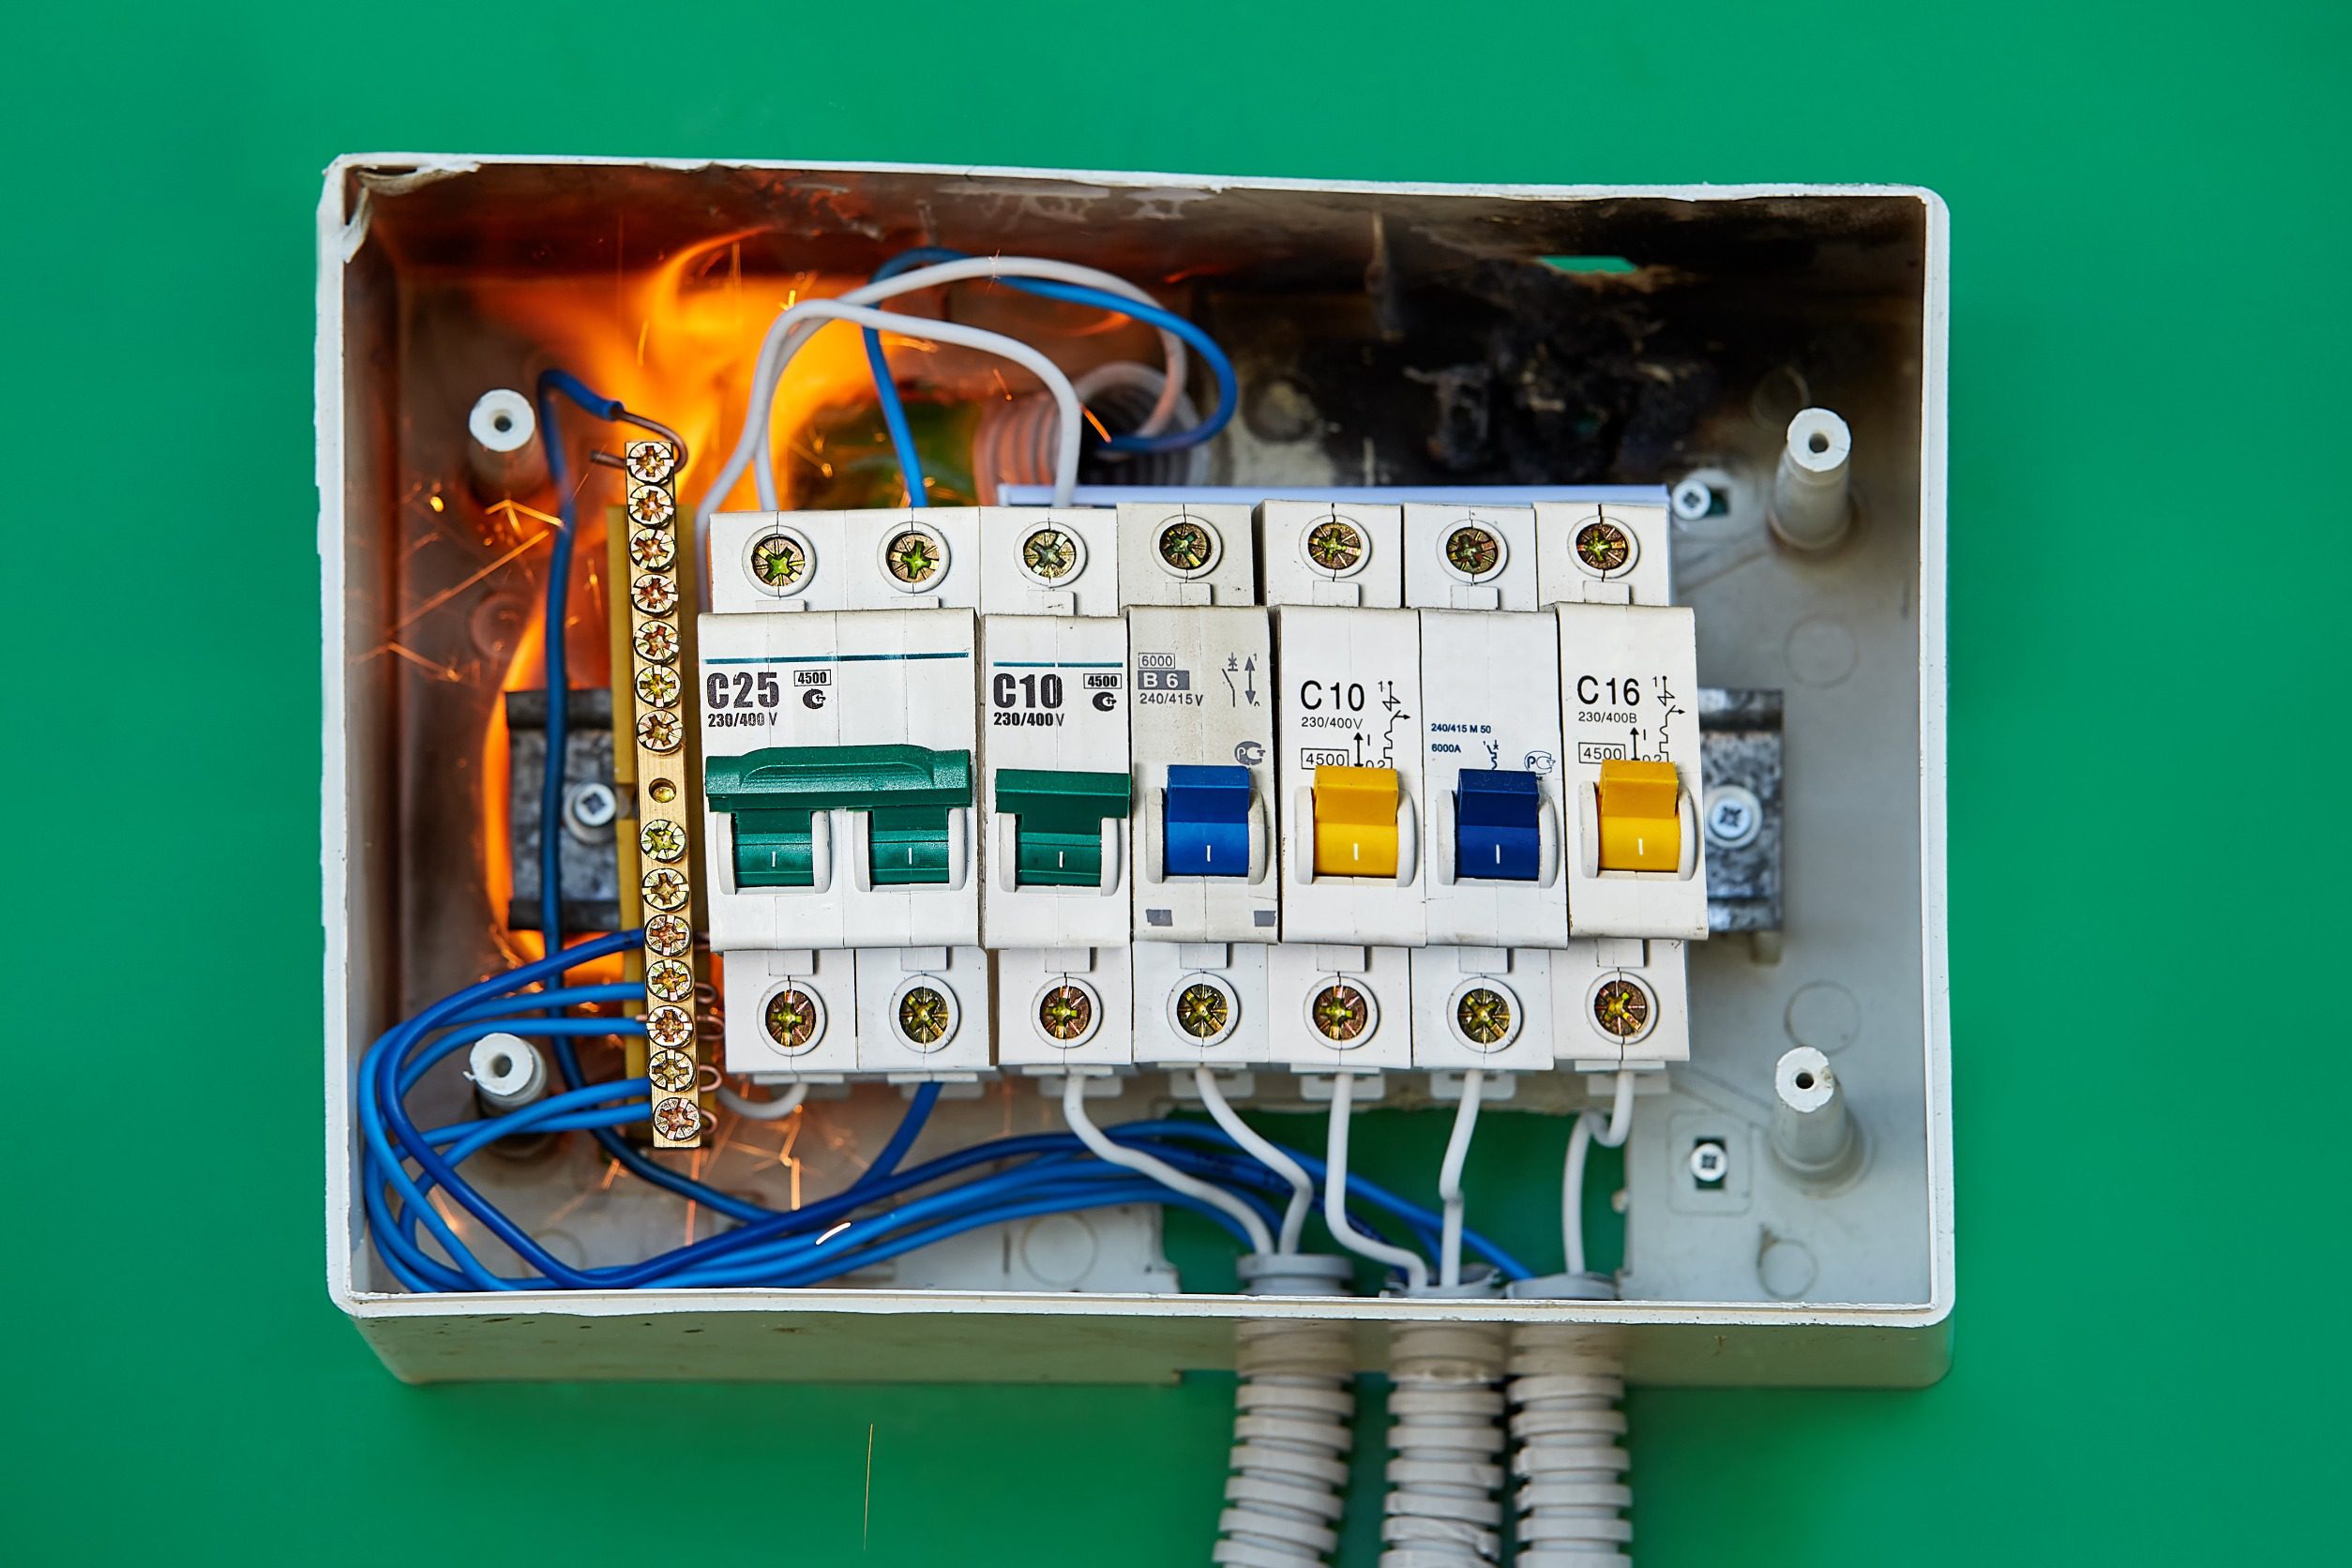
If you switch the breaker and the outlet goes out again, it could be a short circuit. This is when wires come in contact with each other.
If that happens, keep the breaker turned off and call an electrician. Short circuits can be dangerous and lead to a fire.
3. Check All Outlets On The Same Line To The Breaker
If one of the outlets on the same line is a GFCI outlet, it’ll affect all the outlets downstream. If it is a GFCI, it’ll need to be reset or replaced.
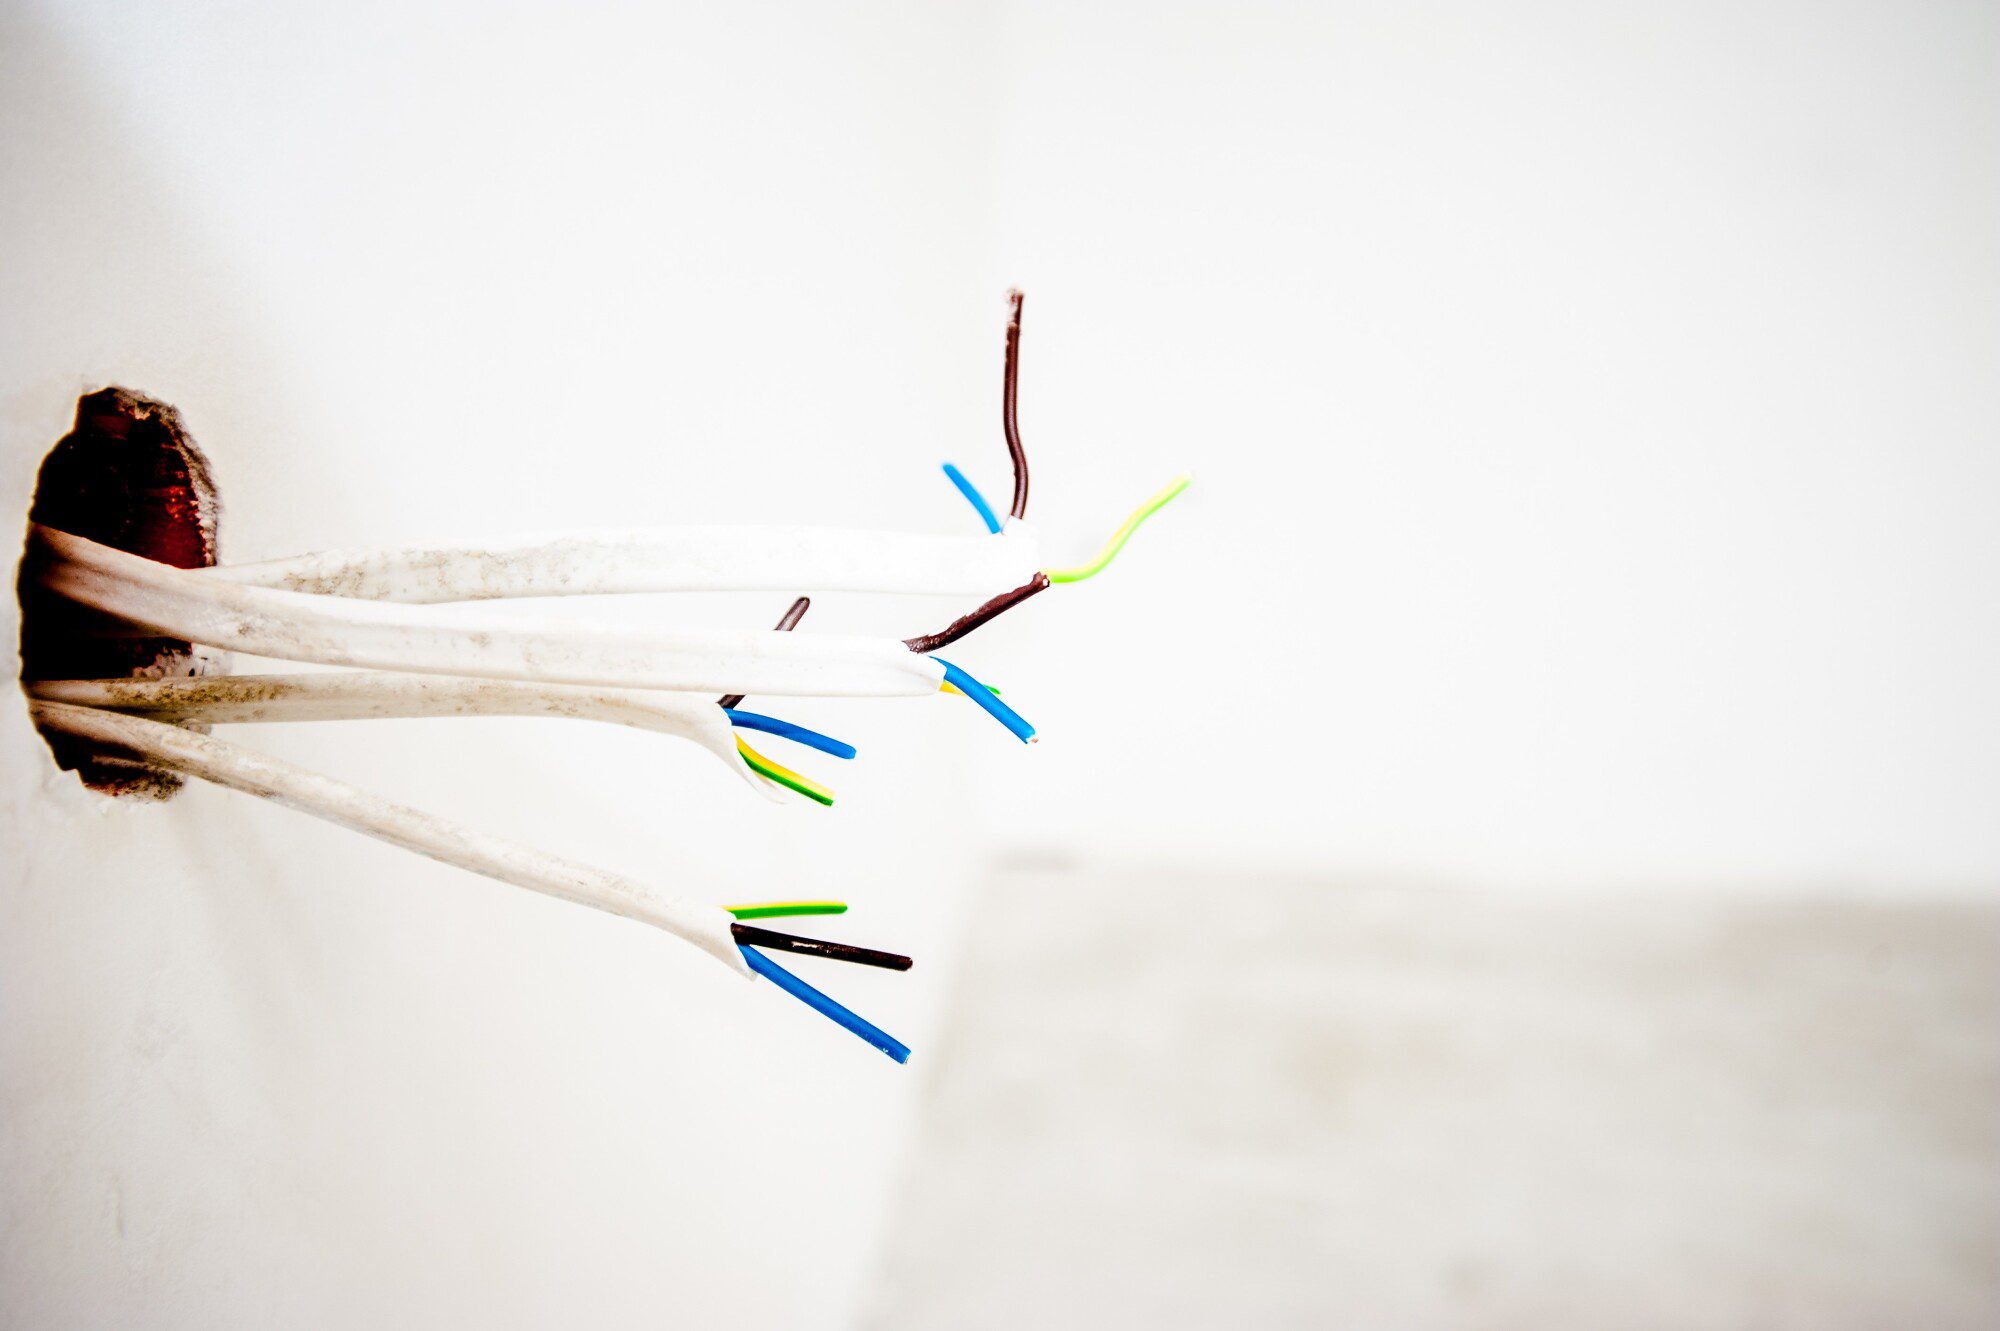
4. Turn Off Outlet And Take Off Face Plate
Make sure you check that the outlet is off by using the voltage tester. If it’s still on, turn it off. Then you can take off the face plate.
Check all the wire connections to the outlet or pigtail wires.
Note: Bare copper or green plastic-covered wires won’t usually cause an outlet to go out.
5. Replace Outlet
It’s rare that conventional outlets fail, but if that’s the problem it will need to be replaced.
On the other hand, GFCI outlets fail on the regular, so the only option is to replace the whole thing.
If you have a broken electrical outlet, you’ll follow the same steps 1-5.
Fix Your Outlet Today
Now that you know the basics, you can at least start with your electrical outlet repair.
If you find that you’re way over your head, that’s okay. There are always experts there to help you. Check out our electrician services today!

